
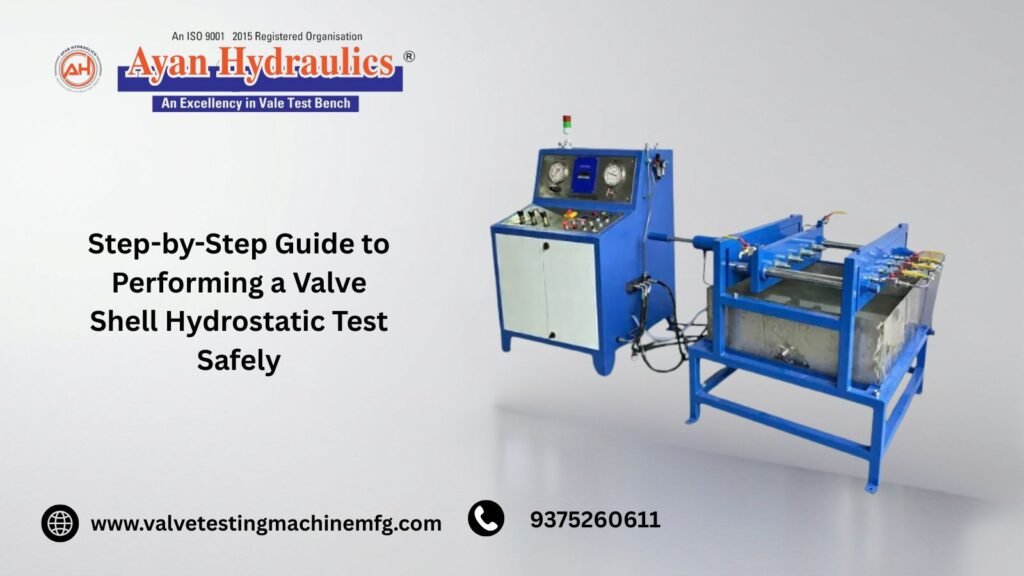
The shell test is one of the most critical quality control procedures in industrial valve manufacturing. Its primary objective is to verify the structural integrity of the valve body, bonnet, and cover against internal pressure, ensuring there are no casting defects, porosity, or wall-thickness irregularities.
Conducting a safe and accurate shell test requires strict adherence to operating procedures, careful calibration of monitoring equipment, and proper management of high-pressure fluid dynamics.
Pre-Test Safety and Preparation Checklist
Before mounting any valve onto a test bench, operators must complete a rigorous preparation checklist to guarantee workplace safety and testing accuracy:
Verify Calibration: Ensure that all pressure gauges and digital transducers possess up-of-date calibration certificates.
Inspect Sealing Surfaces: Clean flange faces and sealing gaskets to remove debris, scale, or old gasket material that could cause premature leakage.
Personal Protective Equipment (PPE): Operators must wear appropriate safety gear, including eye protection and safety footwear, while handling pressurized systems.
Check Clamping Security: Ensure the clamping mechanism of your Valve Testing Machine is fully engaged and rated for the maximum test pressure.
Step-by-Step Shell Testing Procedure
Executing a shell test systematically minimizes equipment strain and ensures compliance with standard industrial inspection codes.
Step 1: Mounting and Clamping
Mount the valve securely onto the test bench. Apply uniform hydraulic clamping force to seal the valve ports without distorting the valve body or flanges.
Step 2: Complete Cavity Filling and Air Bleeding
Fill the internal cavity of the valve completely with the test medium (typically water or a water-soluble rust inhibitor mixture). Crucial Rule: Ensure all trapped air is completely purged from the valve cavity before pressurization. Compressed air pockets store dangerous elastic energy and can cause erratic pressure spikes.
Step 3: Gradual Pressure Ramp-Up
Gradually increase the internal pressure using a high-pressure pump until reaching the required test pressure (typically $1.5\times$ the maximum allowable working pressure at 100°F). Avoid sudden pressure surges to prevent water hammer effects.
Step 4: The Hold Time Duration Phase
Maintain the required test pressure for the mandatory holding duration specified by standards like API 598, based on the valve’s nominal size class.
Step 5: Visual Inspection
During the hold period, thoroughly inspect the entire exterior surface of the valve body, bonnet joints, and packing areas for any signs of leakage, weeping, or structural deformation.
Common Pitfalls to Avoid During Shell Testing
Rushing Pressurization: Increasing pressure too quickly makes it difficult to spot minor weeping and increases mechanical stress on seals.
Ignoring Ambient Temperature Changes: Significant temperature fluctuations during long hold periods can cause thermal expansion or contraction of the test fluid, leading to false pressure drops.
Using Contaminated Water: Using untreated tap water introduces minerals that can clog delicate testing circuits and corrode internal components over time.
Conclusion & Call to Action
Conducting meticulous shell tests guarantees that valves meet stringent international safety requirements before deployment in high-pressure processing lines.
Looking for reliable equipment? Ensure zero-leakage safety and precise operational control with our heavy-duty Hydro Test Machines built for rigorous industrial environments.